My experiences with technology...
This blog is dedicated to my interaction with technology, much of which relates to GIS. Posts contain advice, moments of enlightenment, struggle and achievement.
March 2018. Firebase.
I began developing a web application that I wanted to make scalable and accessible to friends and family. I decided to use Firebase to authenticate users through their Facebook account. I love Google developer tools, arguably the best in terms of usability and reliability. Firebase tools are free (up to a certain amount of storage, etc.) and accessible through your Google account. Go to: https://firebase.google.com/, click on GO TO CONSOLE, create a new project and then you're free to explore all the developer resources (see Project Console below)! You can leverage databases, host your application, use authentication methods and so much more. One great thing about Firebase is the documentation to figure out how to accomplish your goals.
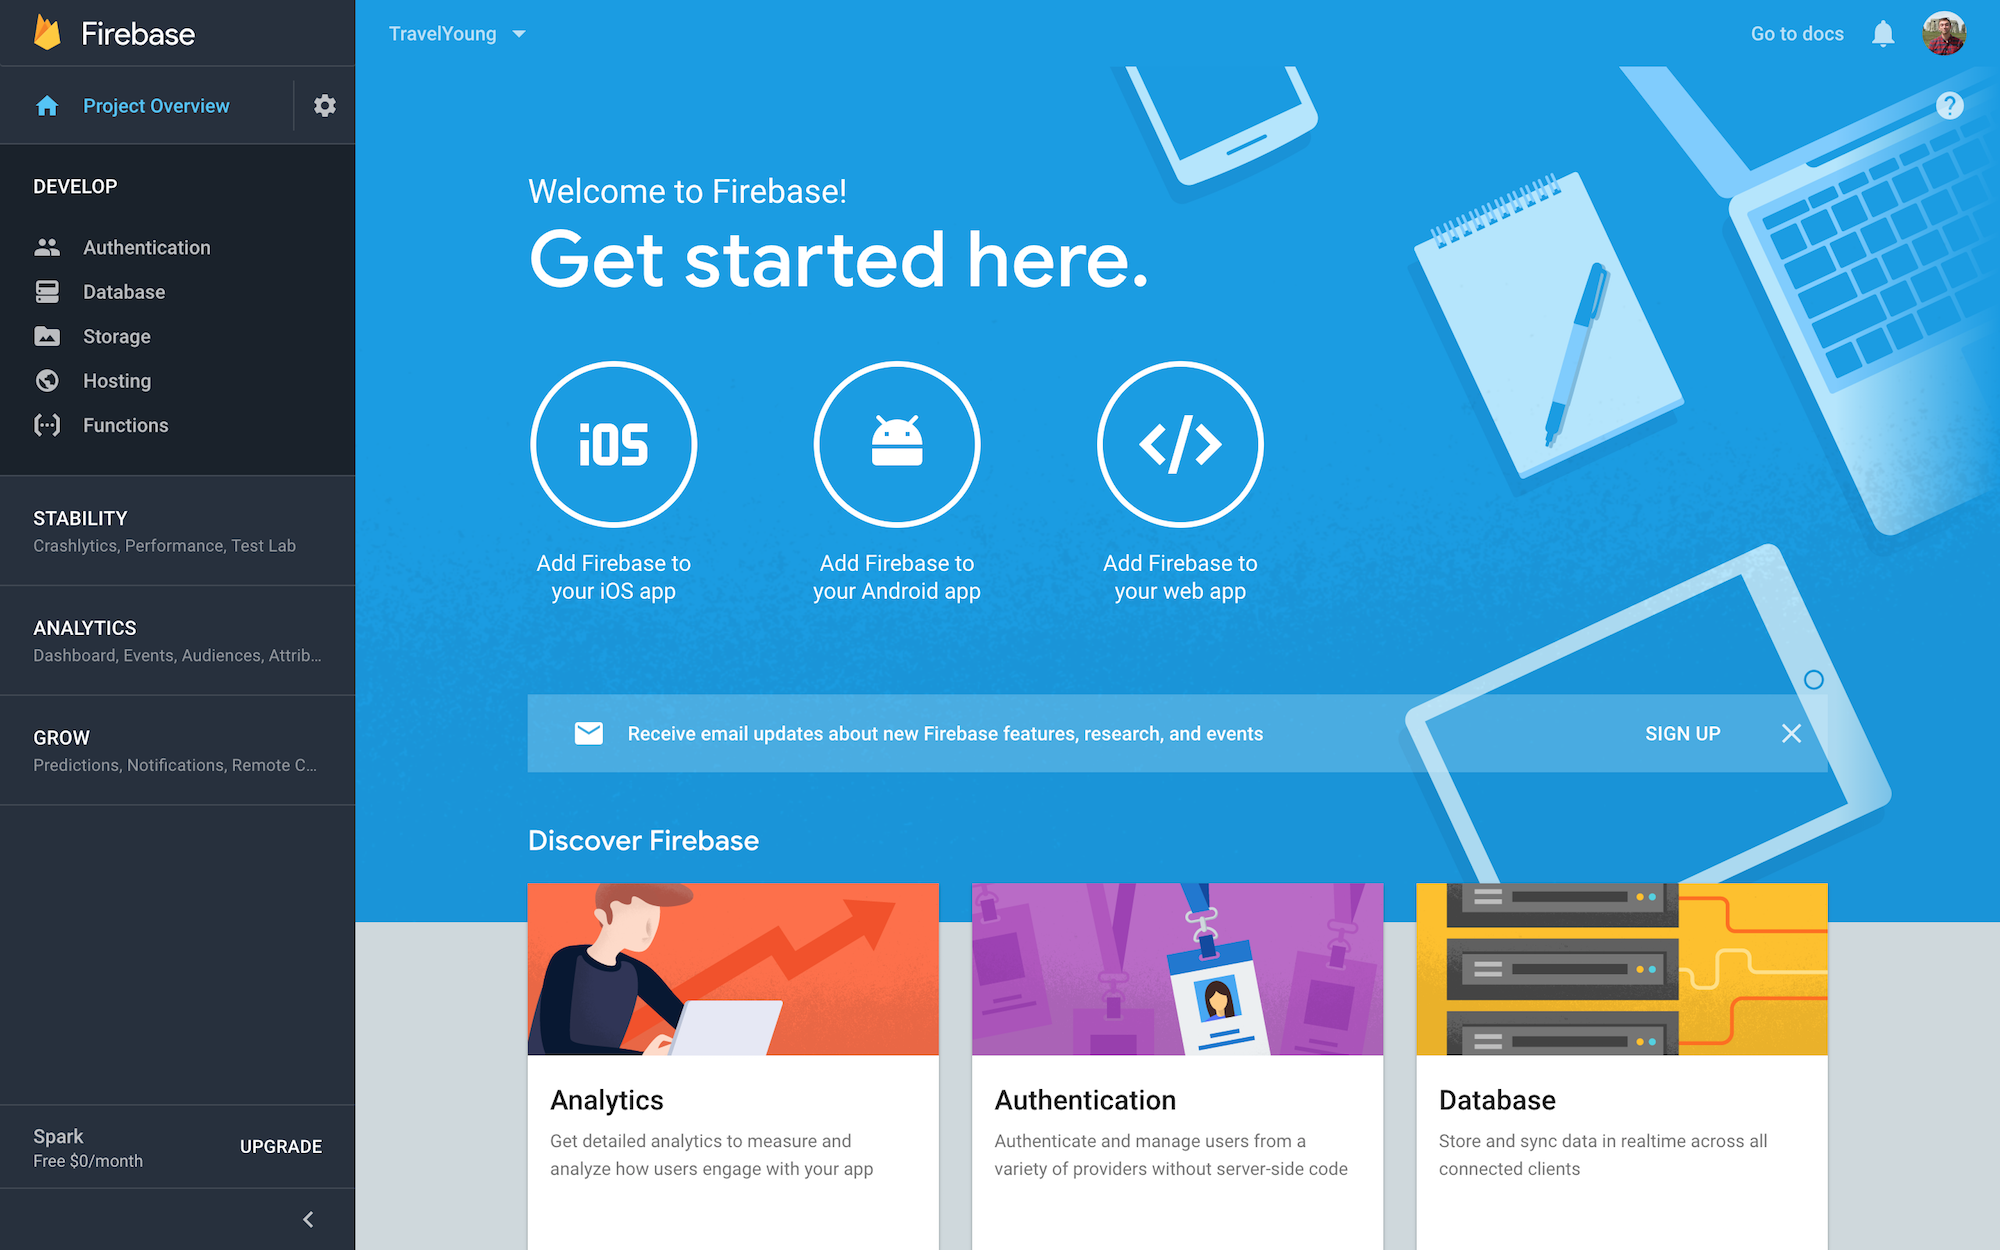 From the window above, you can simply click 'Add Firebase to your web app' and you are provided a window that contains a code snippet for your app. Leveraging that code will give you access to all the resources in your Firebase project instance.
I'm building a React application with Redux and therefore I installed Firebase using Yarn as you can see below.
 In the application I am building, I am using Firebase for two things. First, to store GeoJSON for a web mapping application in the Firebase database; and second, to authenticate an application user through Facebook. The screenshot below shows how to initialize Firebase in your application and then create a reference to the Firebase database and another to the Firebase authentication utilities.
 You can use the firebaseAuth reference to call the FacebookAuthProvider method which will return the application some user provider data that can be saved in the database or applied to some application functionality. An example of this is shown below with the auth() function and the saveUser() function.
 Before the code can be used, you will need to create a Facebook developer account so that Google can access Facebooks user base for your application. Once up and running, this can be a great way to authenticate users, use a cloud database storage device and create scalable applications. Give it a try!
February 2018. Data Reliability with SQL Backups.
Database backups are an essential task for every DBA, yet I often see them undervalued and underutilized. There seem to be incidents every couple of weeks where a quick backup and restore could save me hours of headache. Unfortunately, the clients I work for do not currently grant me appropriate privileges to execute a database restore at my own free will. When 3rd party software is installed on a database I often encounter database corruption due to accidental editing of tables installed from such software. There are other ways that an unknowing user can corrupt a database such as innocent but incorrect interaction through client applications or simply adding some bad data through a SQL command. Database recovery is something every DBA should be well equipped for.
A reliable use of backup and restore for recovery requires a backup and restore strategy that maximizes data availability and minimizes data loss. The most common type of backup is the Full backup, which takes a complete backup of the database as well as the transaction log. This is the most popular and well known because it is the simplest form of restoration. If your recovery model is set to "Full" you also have the option to issue and restore Transaction Log backups. Transaction Log backups allow a DBA to do a point in time restore since the transaction log records every transaction within a database. The last option for a backup that I would recommend putting into practice is the Differential backup. Differential backups essentially take a snapshot of any data the has changed since the last Full backup. Every database is different, and therefore every database will require some consideration when deciding on a recovery model and backup schedule. If a database is vital to business operations and has many transactions throughout the day, a backup schedule could entail a nightly backup, followed by an hourly differential backup and a transaction log backup every ten minutes.
I imagine most people managing database's (whether or not they are a DBA) take backups of their databases. However, it is less likely that all of those individuals are also running tests to check that those backups are functional. What if you're backing up your companies most prized transactional database every night but the database has been corrupt for weeks? So, it's best to include some validation checks in your backup routine. One fact I found very interesting was that "Restore Verify" checks to see that the backup is complete and readable, BUT it does not attempt to verify the structure of the data contained in the backup volumes. Restore Verify does do some additional checking to increase the probability of detecting errors but since the goal is to be as close to operational as possible after a restore, it might be in your best interest to take it a step further and write some more SQL code to validate the backup as it's being created. For example, check out the code below for one simple way to take backup validation one step further. The SQL stored procedure executes a row count comparison between the existing database and the restored database.

January 2018. Mobile Development with React Native and Xamarin Forms.
Being tasked to develop a mobile mapping application has given me the opportunity to explore cross platform mobile development technologies. Since the project focuses on geospatial data, it was necessary to identify what libraries and SDK's were available to implement the mapping component of the application. The two that I decided to weigh against one another were React Native and Xamarin Forms.
I selected React Native because of a recent interest in the React framework and a desire to continue down that path. The map for the React Native exploration uses the react-native-maps library. Setting out to build a development environment for my React Native project was scary, but a friend pointed me towards some incredible tools that quickly resolved my fears. The recommendation was to use Expo development tools, which proved that setting up a dev environment was simpler than I ever could have imagined. It literally DOES IT FOR YOU. I recommend downloading the Expo XDE desktop client and the Expo mobile client for your phone. Open the XDE and simply create a new project in a designated folder and it will initialize a React Native project for you, with dependencies included to get you started. Then you can go on to install other dependencies and packages when you're up and running. Once your project is created, you can start up the project in Expo XDE which will create a network tunnel to connect to your device and open a browser for debugging. You can then click the Share button in XDE and scan the QR code with the Expo mobile client which downloads the JavaScript bundle and launches the project on your phone!
Lastly, open the folder containing the project in your favorite code editor and have at it! I've found that debugging with the XDE can be somewhat cumbersome. The tunnel created through the XDE allows for live reloading of the JavaScript bundle, but this tunnel often needs to be revived, and sometimes you will need to entirely restart the XDE or the Expo mobile client. This can slow development of your application, but re-rendering of the project when the tunnel is open, is a great way to quickly see your code come to life on your device. Using your local LAN is a better option opposed to the tunnel! Finally, I want to mention Expo's online tool - Snack. I've found it very helpful for understanding the different UI naming conventions such as Views, Buttons, etc. However, I have not found Snack to be efficient for development due to its buggy nature. Overall, I'm loving React Native!
Xamarin was also chosen to explore mobile application development because Esri has an SDK for Xamarin Forms which is a cross platform mobile development technology. Esri's Xamarin Forms is included in the Esri SDK for .Net. Xamarin is owned by Microsoft and is completely integrated into Visual Studio. I have a lot of experience with Visual Studio and developing applications with C#, so I believed creating a solution with this technology would be more efficient. My initial attempt to modify my Visual Studio 2015 to include Xamarin was a complete and total FAILURE. I was missing certain Java SDE's, and various Android SDK's refused to be installed. After hours of troubleshooting, reading Stack Overflow posts, evaluating forums on Xamarin's tech support site, I decided that a fresh install would be the most timesaving resolution, and while at it, I thought I might as well upgrade to Visual Studio 2017. So that's the route I took. And it worked! I had a seamless install and immediately created a Xamarin Forms Esri project. So I'd recommend a fresh install! Without making any edits I fired up the UWP (Universal Windows Platform) debugging simulator because I needed some visual validation that the install worked for me. There was my first map app. I started developing while referencing some samples found on Esri's github here: https://github.com/Esri/arcgis-runtime-samples-dotnet/tree/master/src/Forms. Debugging a mobile app with Visual Studio works just like debugging any other desktop application - it's quick and easy. My insight here is that the initial installation of Xamarin might be painful, but once up and running you'll see it has a resourceful development environment. Xamarin also has A LOT of samples that can be found here: https://developer.xamarin.com/samples/xamarin-forms/All/. If you are a developer using a PC, one reservation that you might have is that in order to test on an iPhoneSimulator, you need a mac. A mac is needed as a hosting resource for for the project. Esri also claimed that their SDK is not supported in the Xamarin Live Player mobile app…
From my experience, after getting all the installations in place, creating projects in both environments was seamless. My excitement for React is stoking the desire to continue mobile development using React Native. Furthermore, I have recently been wanting and looking out for alternatives to Esri products. The tradeoff of moving away from technologies such as Esri's .Net SDK is that you lose a lot of integrated analysis tools that come with their products. However, depending on the project, a lot of those tools are likely out of scope anyway, and all you might need are points on a map, which other platforms can handle with ease.
Feel free to check out my Github for some samples: https://github.com/jasonrberney/
January 2018. Mapping Tweets with Folium.
I resurrected some Python code the other day that scrapes Twitter for tweets containing text from some user input. The script grabs data from the Twitter Rest API, which returns data in JSON format. It then geocodes the tweets and plots them on a map that is created using the Python library Folium. If you would like to try this yourself please follow along, but first, you need a Twitter account to acquire data from the API. Once you have a Twitter account, you can create a new “application” here: https://apps.twitter.com/. This application will provide you with the necessary Keys and Access Tokens needed for secure authorization to retrieve information from Twitter. Easy enough!
You can then use this TwitterSearch library to easily search through the Twitter API. This library is great because you can search Twitter without having to know too much about the API. First use your Key and Access Token to create a TwitterSearch object:
ts = TwitterSearch(
consumer_key = ‘XXX’,
consumer_secret = ‘XXX’,
access_token = ‘XXX’,
access_token_secret = ‘XXX’
)
Create a TwitterSearchOrder object that contains words to search for:
tso = TwitterSearchOrder( )
tso.set_keywords([word])
Finally, create a loop to iterate through tweets and print the content!
for tweet in ts.search_tweets_iterable(tso):
twt = tweet['text']
user = tweet['user']['screen_name']
tweetContent = ( '@%s tweeted: %s' % ( tweet['user']['screen_name'], tweet['text'] ) )
print tweetContent
Now, if you’re interested in visualizing the tweets, this is where it gets fun. Data visualization is what makes GIS exciting, so let’s throw these tweets on a map. To accomplish this, we need coordinates and therefore we’ll use a geocoding service, so here’s a free one called geopy: https://github.com/geopy/geopy
from geopy import geocoders
def geo(location):
g = geocoders.Nominatim( )
loc = g.geocode(location, timeout=10)
return loc.latitude, loc.longitude
Then we can get our latitude and longitude using the function above:
(lat, lng) = geo(tweet['contributors'], ['coordinates'])
Lastly, you can use these coordinates to add a marker to a Folium map. So, first initialize a map and then as you loop through the tweets, add the markers to your map!
import folium
myMap = folium.Map(tiles='Mapbox Control room')
# create markers and add them to the map as you loop over tweets
folium.Marker([lat, lng], popup=tweetContent).add_to(myMap)
# save map to whatever directory you're in
myMap.save('MyMap.html')
# Open the map in a browser!
webbrowser.open('file://'+ os.path.realpath('MyMap.html'))
You can find a full script of this example on my github: https://github.com/jasonrberney/FoliumMappingTwitterAPI
December 2017. ArcSDE and a Replica Undone.
Creating and maintaining an ArcGIS Geodatabase replica is not an easy task when a database schema is ever-changing. It is extremely difficult to maintain an ArcGIS Geodatabase replica because the replica must be recreated every time there is a change in the database schema. When an ArcGIS Administrator is managing multiple environments, it can be very time consuming to recreate various replicas that may exist within each environment. Therefore, I saw this task as a good candidate for automation. Creating a replica using Python is as simple as one line of Python code using the arcpy library and passing in the correct parameters:
CreateReplica_management (in_data, in_type, out_geodatabase, out_name, {access_type}, {initial_data_sender}, {expand_feature_classes_and_tables}, {reuse_schema}, {get_related_data}, {geometry_features}, archiving)
{ } = optional
But that’s the easy part. You need a list of input features to be included in the replica, so how do you account for new features being added to a database replica? That feature needs to be registered as versioned, and also must have a GlobalID. When I set out to create a script that could guide a user through creating a replica, many unforeseen circumstances came into play (as so often happens when performing advanced tasks with Esri software). In creating a truly reusable tool, this Python script would need to take user input to guide you through the state of your database and the datasets involved in the replica. For example, ask the user to indicate what environment they are using (Development? Test? Production?). What datasets are in the database compared with what the application is expecting? Are there datasets that should be added to the replica? Removed from the replica?
Nearly all of these scenarios were accounted for and solved. Unfortunately, this process of recreating a replica cannot be completely automated at this time. Esri does not have an arcpy tool for unregistering a replica. This highlights my frustration with the technology that Esri puts out. Although Esri Support claims that this tool will exist in ArcGIS 10.6, it floors me that this functionality does not currently exist. I am hoping that next month this functionality will be available when I upgrade our infrastructure to 10.6, but I have my doubts.
November 2017. Interested in React?
React is now a popular library for building user interfaces with JavaScript. After looking into some tutorials, you will quickly find that it encompasses an entirely different representation of how a developer interacts with the DOM. When getting introduced to new technologies, sometimes getting a development environment up and running can be half the battle. If you’re interested in React and curious how to quickly set up a work environment, check out this link:
https://scotch.io/tutorials/setup-a-react-environment-using-webpack-and-babel
 Good luck! :)
October 2017. Upgrade your ArcGIS Environment?
If you have a stable working ArcGIS environment at version 10.3 or above, I am hesitant to advocate for upgrading your infrastructure. I believe that there should be a purpose to implementing any technology. So ask yourself, why do we need this upgrade? If you answer YES to questions such as: Is there some new functionality that you see as critical to your operations? Then you should absolutely upgrade.
Clients I have worked with insist on the latest and greatest, which means always implementing the newest technology. Therefore, upgrading our Esri infrastructure has become clockwork and I often struggle to find a good reason for doing so. Unfortunately, the last 2 releases have been a letdown. They have introduced debilitating bugs into our applications that we simply could not have foreseen. For example, version 10.4.1 slowed down a mapping application that used spatial SQL views within a map service. Changing these spatial SQL views to query layers in the map solved our issue, but still caused undesired application downtime. Other issues I've experienced between releases include ArcGIS Server clustering and GeoEvent Server configuration. My recommendation: if you do not have a specific reason for upgrading your Esri infrastructure, leave it in its functioning state until you DO have a reason for upgrading.
March 2017. Esri GeoEvent Server vs. OSIsoft PI Web API
In a time when data seems infinite, companies are continuously looking for ways to efficiently visualize that data. Many people desire real-time data feeds for information that are essential to business operations. Esri and OSIsoft provide one process workflow for providing real-time data to applications through the PI Integrator for Esri ArcGIS and the GeoEvent Processor. There is another fairly easy way to accomplish sending real-time data to a web application, without as many moving pieces. Specifically, there is a whole infrastructural piece called the Esri GeoEvent processor that you might elect to omit. Like everything, there are pros and cons to that decision.
The Integrator uses Esri’s ArcGIS GeoEvent Processor to update a Feature Service hosted on an Esri ArcGIS Server. By updating a Feature Service, the values of that Feature (whether it be a table or spatial feature) are changed in the database and reflected on a webpage.
As an alternate to the PI Integrator for Esri, you can create a similar solution that delivers real-time data to a web application solely using OSIsoft’s PI System. The alternative implementation uses the PI Web API as a source for real-time data. Through the PI Web API, you have the ability to navigate and retrieve information from your AF Databases, AF Models, as well as PI Points and their values. Furthermore, PI Web API Channels allow you to retrieve a constant stream of data from one PI Point or a set of PI Points. The PI Web API Channels leverage Web Socket protocols to provide data streaming through the PI Web API. With this method of data delivery, you are able to continually update a dataset on the front end of a web mapping application, adding to an overall Geographic Information System (GIS). One advantageous aspect of this data retrieval method is that it can be incorporated into other mapping software and leveraged with various geospatial API’s such as, Esri, Mapbox and open source platforms like the OpenGeo Suite. So, for those companies who have a PI System and want to visualize real-time spatial data, check out the PI Web API and the PI Web API Channels!